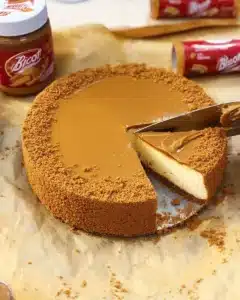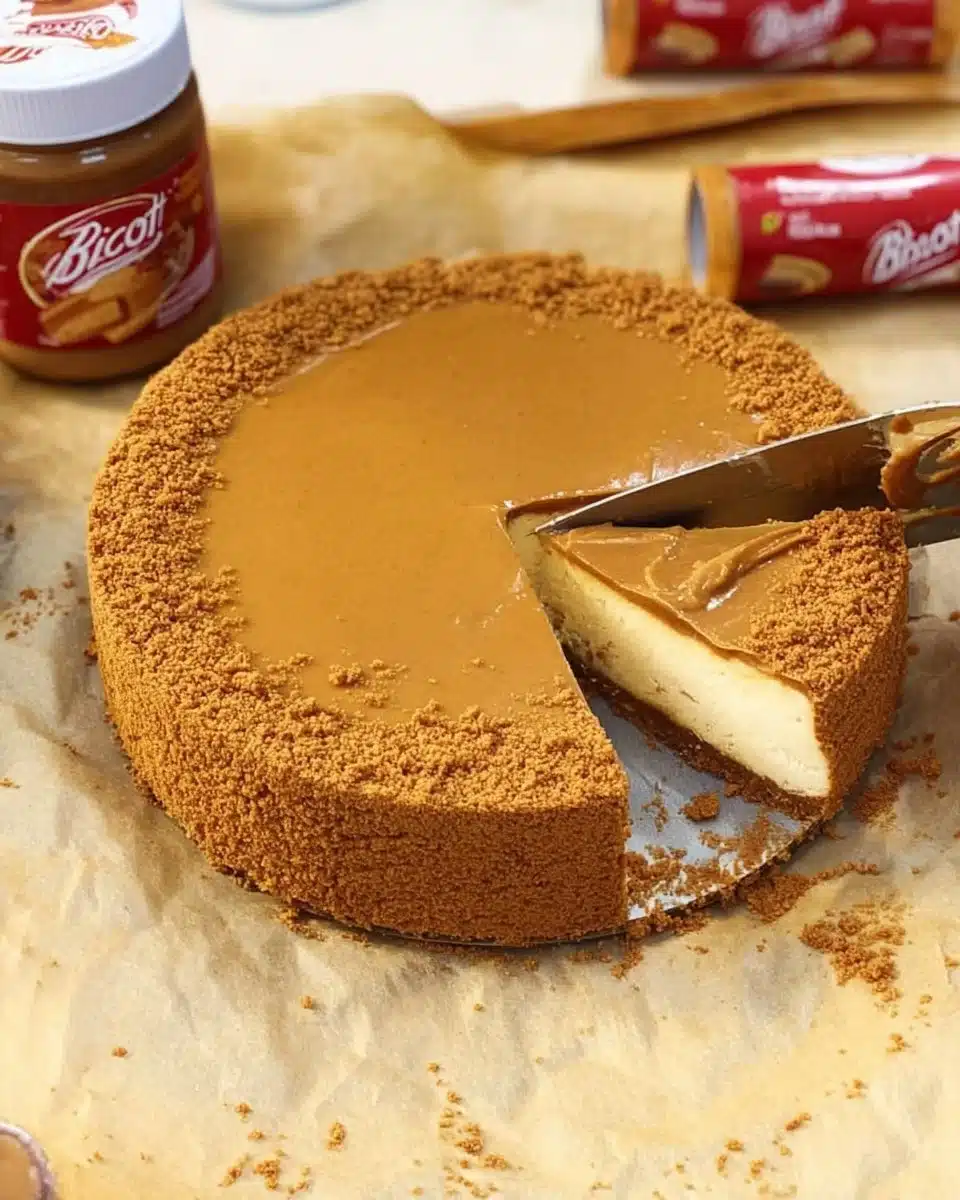
Biscoff Cheesecake: The Dessert That Steals the Show
So, the other day I whipped up a Biscoff cheesecake while my kids waged a battle over Lego pieces scattered across the living room floor. Honestly, it felt like an avalanche of chaos, but you know what? That cheesecake? SO GOOD it could stop a tornado! I can still remember the first time I tasted Biscoff cookies—standing in my best friend’s kitchen, dipping them into a cup of hot coffee, feeling like I’d discovered a little piece of heaven. Now, I get to recreate that magic with this decadent cheesecake recipe that brings comfort in every bite. Spoiler alert: folks can’t get enough of it at our family gatherings.
If you’re looking for a dessert that’s more than just a sweet ending, grab your apron because this Biscoff cheesecake is about to make your kitchen smell like a warm hug and your taste buds sing!
Why You’ll Love This Recipe
- Quick and Easy: No baking required—just a bit of mixing and chilling.
- Budget-Friendly: Simple ingredients that you can find at any grocery store.
- Freezer Friendly: Whip it up ahead of time for those busy days!
- Kid-Approved: Seriously, my kids go wild for this dessert.
- Crowd-Pleaser: Everyone will be begging for the recipe (and then you’ll be the star of the family).
- Uniquely Delicious: The Biscoff cookie spread adds a flavor twist that makes this cheesecake stand out from the regular old vanilla version.
Ingredients Needed and How to Make It
Ingredients Needed
-
For the Crust:
- 1 package Biscoff cookies, crushed (grab a package for munching while you bake!)
- 1/4 cup unsalted butter, melted (make sure it’s nice and melted so it’s easy to mix in)
-
For the Cheesecake Filling:
- 8 oz cream cheese, softened (this helps it blend better—no one wants lumps!)
- 1 cup heavy whipping cream (we’re looking for that luscious texture)
- 1/2 cup powdered sugar (that sweetness is what dreams are made of)
- 1 cup Biscoff cookie spread (the star of the show)
- 1 tsp vanilla extract (a little hint of love)
How to Make This Recipe?
Step 1: Crust Creation
Grab a bowl and toss in those crushed Biscoff cookies. Combine with the melted butter until it resembles wet sand. Press that glorious mixture firmly into the bottom of a springform pan. This is going to be the cozy foundation for your cheesecake masterpiece.
Step 2: Whip It Good!
In a separate bowl, pour in your heavy whipping cream and whip it until soft peaks form. You want it to be fluffy but not too stiff. So, channel your inner rock star and keep that mixer going until it’s just right!
Step 3: Cream Cheese Bliss
In another bowl, combine your softened cream cheese, powdered sugar, and Biscoff cookie spread. Mix it until everything is smooth and creamy. This mixture will be the luscious, dreamy layer that makes this cheesecake so special.
Step 4: Fold in the Magic
Gently fold the whipped cream into the cream cheese mixture. Take your time here, so you don’t deflate that fabulous fluffiness. We want all the airy goodness to stay intact.
Step 5: Pour and Smooth
Pour your cheesecake filling over that beautiful crust, smoothing the top with a spatula. Take a moment to admire your work—because it’s about to get even better!
Step 6: Chill Out
Cover the cheesecake with plastic wrap and pop it in the fridge for at least 4 hours or until it’s set. This step is crucial—trust me, it’s worth the wait!
Step 7: Serve and Enjoy!
When you’re ready to dig in, slice that cheesecake and serve cold. Watch as everyone at the table reaches for seconds (or thirds), trying to figure out how you pulled off such a delicious treat.
How to Store It & Expert Tips
How to Store It
Leftovers? You’ve got options! This Biscoff cheesecake can hang out in the fridge for about 4-5 days. Got too much for now? Let it chill in the freezer. Just wrap it well in plastic wrap and foil, and it’ll last for up to a month. When you’re ready to dive back in, let it thaw in the fridge overnight.
Expert Tips
- Smoother Cheesecake: Make sure your cream cheese is at room temp—it mixes in without those pesky lumps.
- Flavor Boost: A drizzle of melted chocolate or caramel on top before serving can add a fun twist.
- Prep Ahead: Making this ahead of time can only mean better flavors. The longer it sits, the better it gets!
Conclusion
This Biscoff cheesecake is not just a dessert; it’s a memory-making opportunity. It’s creamy, dreamy, and simple, yet oh-so-elegant. Plus, everyone will wonder how you became the dessert champion of the family. If you whip this up, I’d love a star rating and your thoughts in the comments below. And hey—share it with your cousin who never shows up empty-handed! Did you add your own spin? I wanna hear it!
FAQ Section
What’s the best way to crush Biscoff cookies?
Here’s the deal: Throw them in a food processor if you’ve got one. No food processor? No problem! Just toss them in a ziplock bag and crush them with a rolling pin.
Can I freeze this cheesecake?
Real talk: Yes, absolutely! Just make sure it’s wrapped properly. You won’t regret having a slice stored away for those unexpected dessert cravings.
How long will the cheesecake last in the fridge?
You’re looking at about 4-5 days. If you can resist it longer than that, you’re stronger than I am!
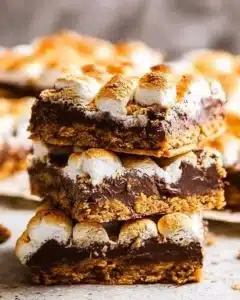
If your sweet tooth isn’t done yet, my Double Chocolate Chip Cookies are absolute chaos in the best way. Trust me, you can’t go wrong with a little more sweetness in your life!
Biscoff Cheesecake
Ingredients
Method
- In a bowl, combine the crushed Biscoff cookies with melted butter until it resembles wet sand.
- Press the mixture firmly into the bottom of a springform pan to create the crust.
- In a separate bowl, pour in the heavy whipping cream and whip it until soft peaks form.
- Ensure it's fluffy but not too stiff.
- In another bowl, combine softened cream cheese, powdered sugar, and Biscoff cookie spread.
- Mix until smooth and creamy.
- Gently fold the whipped cream into the cream cheese mixture to keep it airy.
- Pour the cheesecake filling over the crust, smoothing the top with a spatula.
- Cover the cheesecake with plastic wrap and refrigerate for at least 4 hours or until set.
- Slice the cheesecake and serve cold.