Hey y’all! Let me paint a picture for you: it was Saturday morning, the kind where the golden sun beams dance through the kitchen window and the coffee drips slowly in the background.
I was hanging out with my kid, who was eagerly trying to tackle a math problem while I was desperately trying to figure out how to keep a classic family breakfast from getting too repeats-ville. That’s when it hit me—CHOCOLATE SWEET ROLLS.
I made this while the dog barked at a squirrel and my kid spilled juice on the math homework, and let me tell you, the whole house smelled like a bakery on a holiday. These rolls are SO GOOD, they almost made us forget about that juice debacle!
So why chocolate sweet rolls? Well, they’re not just a dish to eat; they’re pure, sweet nostalgia rolled into soft, gooey perfection. Trust me when I say, if you want to witness magic before your eyes, get your apron on and let’s dive in.
Why You’ll Love This Recipe
- Kid-Approved: Trust me, kids go wild for these rolls, and they’ll practically beg you to make them again.
- Comfort Food Through and Through: These rolls hit all the right notes—warm, inviting, and downright scrumptious.
- Freezer-Friendly: Make a double batch and freeze half for those mornings when you just can’t even.
- Quick and Easy: While they do need some rise time, the hands-on work is straightforward and practically foolproof.
- Crowd-Pleaser Perfection: Whether it’s brunch or an impromptu get-together, these rolls will have everyone drooling.
So, let’s get rollin’!

Ingredients Needed
For the Dough:
- 1 cup (240ml) whole milk, warmed to about 100°F (38°C)
- 6 Tablespoons (75g) granulated sugar, divided
- 1 Tablespoon (9g) active dry or instant yeast
- 5 Tablespoons (71g) unsalted butter, melted and slightly cooled
- 2 large eggs, at room temperature
- 1 teaspoon salt
- 4 cups (530g) bread flour, spooned & leveled, plus more as needed
For the Filling:
- 6 Tablespoons (85g) unsalted butter, softened
- 1/2 cup (100g) packed light or dark brown sugar
- 2 Tablespoons (10g) unsweetened natural or Dutch process cocoa powder
- 1 teaspoon ground cinnamon
- 1 teaspoon pure vanilla extract
- 3/4 cup (135g) semi-sweet chocolate chips or a 4-ounce semi-sweet chocolate bar, finely chopped
For the Icing:
- 3 Tablespoons (45ml) heavy cream
- 1 teaspoon espresso powder (this is optional, but it really amps up the chocolate flavor!)
- 1 and 1/2 cups (180g) confectioners’ sugar, sifted
- 1/2 teaspoon pure vanilla extract
How to Make This Recipe
Step 1: Activate the Yeast
Start by whisking the warm milk, 2 tablespoons of sugar, and the yeast in your stand mixer bowl. Give it about 5 minutes until it’s foamy on top. No mixer? No problem! You got this—just whisk it up in a big bowl with a wooden spoon.
Step 2: Make the Dough
Add in the remaining sugar, melted butter, eggs, salt, and 1 cup of flour. Beat on medium speed for a minute, scraping the bowl down as needed. Then, add the remaining flour slowly until a soft dough forms. Dough should be soft but not sticking to your fingers. If it does, add a bit more flour but go easy on it!
Step 3: Knead, Knead, Knead
Keep it mixin’ for 6-8 minutes until it feels soft and slightly tacky. Poke it! If it bounces back, you’re golden. If it tears easily when stretched, keep kneading until it passes the windowpane test.
Step 4: Time to Rise
Lightly grease a large bowl and place the dough in, turning it around so it’s coated. Cover it and let it rise in a warm place for about 2 hours until it’s doubled in size.
Step 5: Roll It Out
Punch down the dough to release the air, and roll it into a 10×16-inch rectangle on a floured surface.
Step 6: Fill It Up
Mix all your filling ingredients (except for the chocolate) and spread it generously over the dough. Sprinkle on those chocolate chips or the chopped chocolate bar, then roll it up tightly into a long log.
Step 7: Cut & Bake
Slice your log into 12 even rolls, placing them into a greased 9×13-inch baking dish. Let them rise again for about an hour, and while they’re puffing up, preheat your oven to 350°F (177°C).
Step 8: Bake It
Throw them in the oven for 25-28 minutes, tenting them with foil for the last 15 minutes to prevent over-browning.
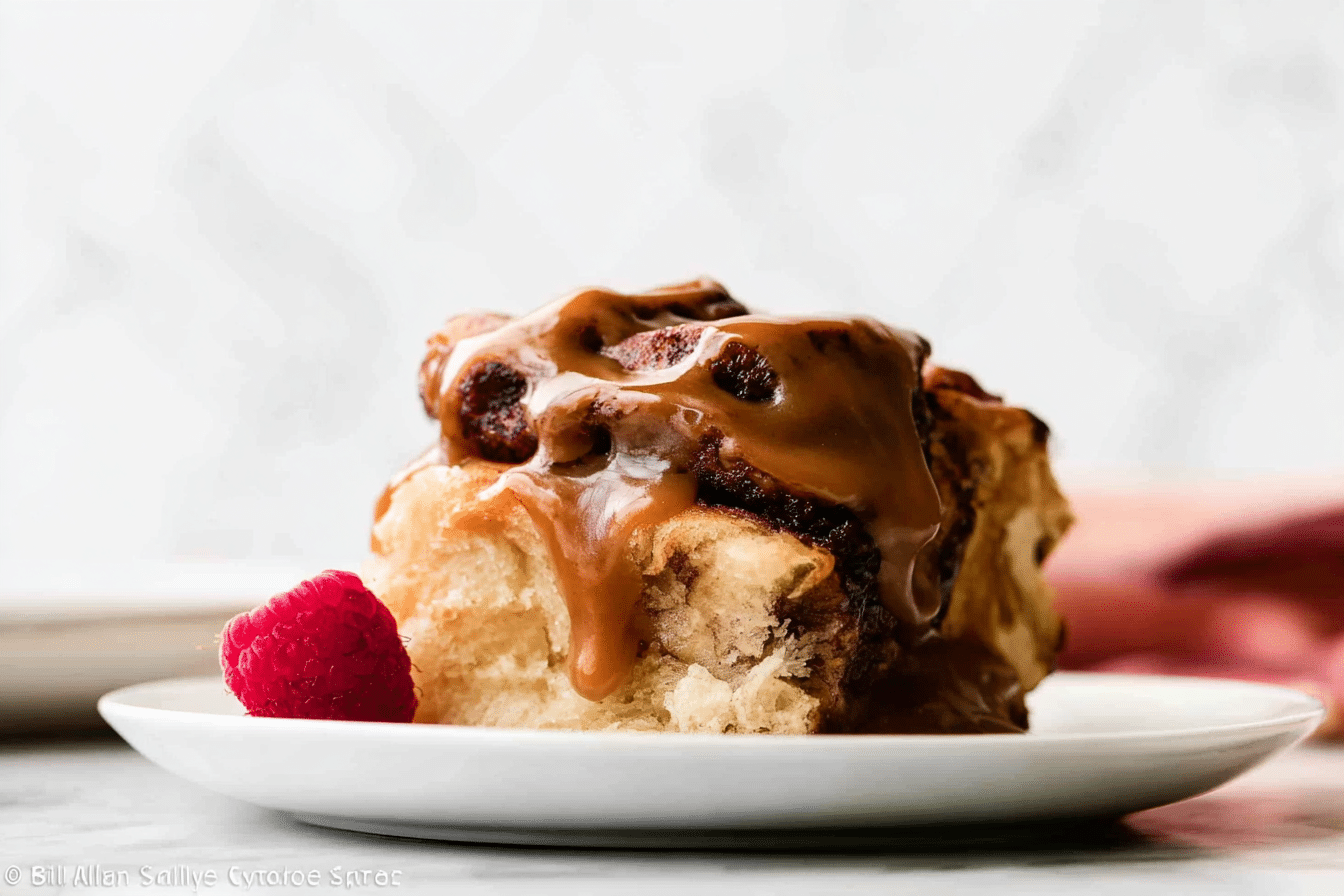
Step 9: Ice It!
After cooling for 10 minutes, whisk together your icing ingredients and drizzle it generously over those warm rolls.
How to Store It
You can keep your rolls at room temperature for up to 2 days, or toss ’em in the fridge for about 5 days if you want them to last longer. Just reheat them in the microwave for about 15 seconds to bring back that fresh-from-the-oven goodness.
Expert Tips
- If you want to add a bit of flair, try swapping out the semi-sweet chocolate for some chopped nuts or maraschino cherries in the filling.
- Freezing? Just individually wrap each roll in plastic before tossing it in the freezer. When you’re ready, reheat them straight from frozen.
- For a flavor booster, try using a flavored coffee creamer instead of heavy cream in the icing.
Conclusion
And there you have it—Chocolate Sweet Rolls that feel like a warm hug on a plate! These rolls work wonders for breakfast, brunch, or anytime you just need a bit of sweet joy in your life. If you loved this recipe, please drop a star rating below and let me know how it went. Share it with your cousin who never shows up empty-handed. Did you add your own spin? I wanna hear it!
FAQ Section
Here’s the deal: Are these rolls best eaten fresh? Real talk… they’re best right outta the oven, but they still taste awesome a day or two later.
Can I make the dough ahead of time? Absolutely! You can make the dough the night before and let it rise in the fridge. Just shape and bake it in the morning!
What if I can’t find bread flour? No stress! All-purpose flour will work, but you won’t get that chewy, professional texture from bread flour.
If your sweet tooth isn’t done yet, my Dubai Chocolate Brownies are absolute chaos in the best way.