You know those rainy afternoons where the kids are bouncing off the walls, and all you can think is, “What in the world can I make that won’t end in a disaster?” That was me last week.
While the dog was barking at the squirrels in the backyard and my youngest was spilling juice all over her math homework (you should’ve seen the drama), I found myself thinking about the good old days—like when we used to whip up those super sugary store-bought fruit roll-ups.
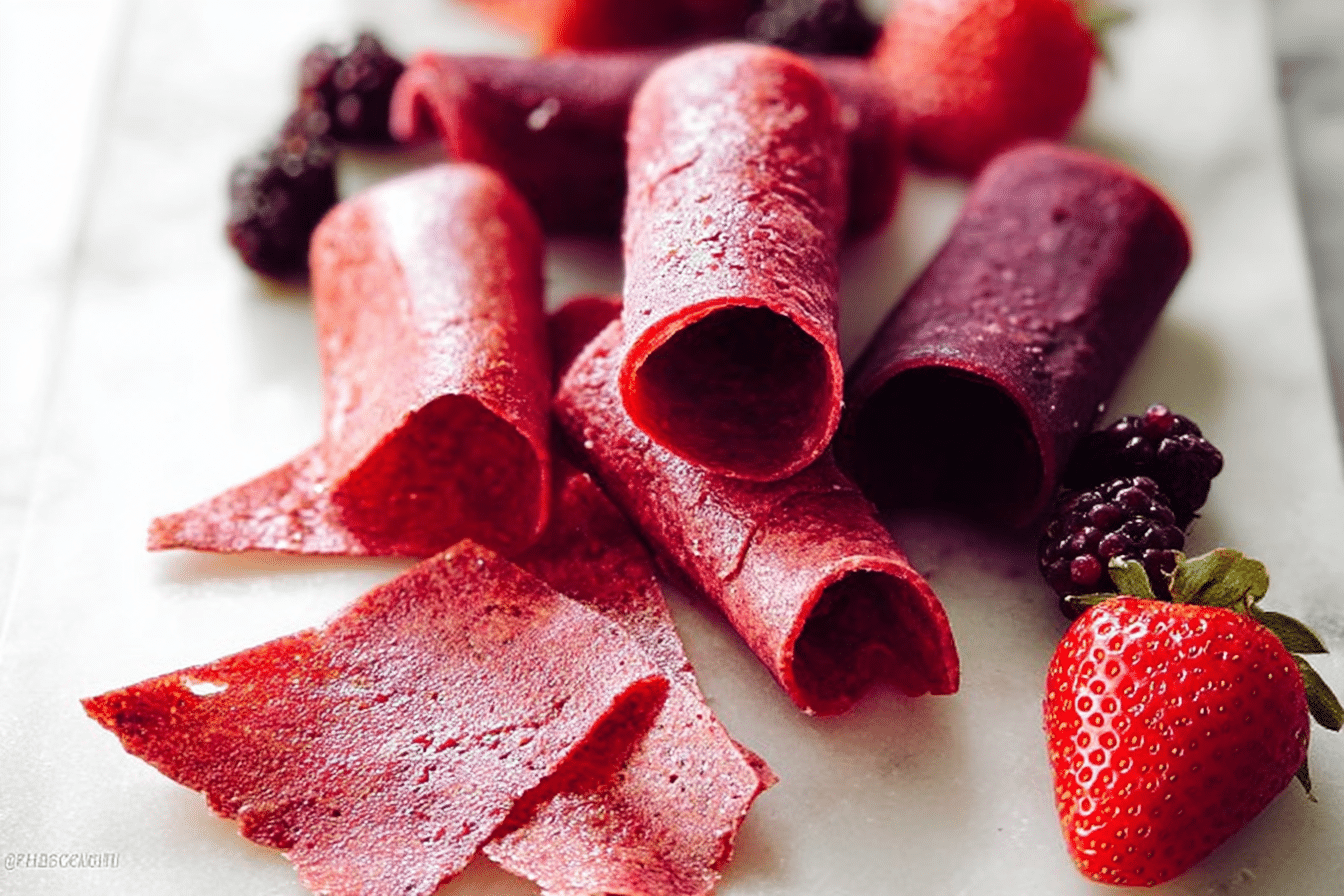
Then it hit me: why not make some Homemade Fruit Roll-Ups? SO GOOD, right? Not only do they give you that nostalgic vibe, but they’re also a hit with the kiddos. Plus, for me, it’s about creating something special, together.
So, here I am, ready to share my twist on this fab snack that marries the sweetness of berries with just the right amount of honey. You’ll want to keep this recipe tucked away because it honestly brings back all the best memories of my childhood—camping trips and painting the town red with friends. ME? OBSESSED? You betcha!
Why You’ll Love This Recipe
- Quick to whip up: You can get it going in the oven while you finish up other stuff!
- Budget-Friendly: No fancy ingredients required—just nature’s goodies.
- Kid-approved: Trust me, these homemade beauties will be a hit with the kiddos.
- Freezer Friendly: Stock up! They last up to two weeks in an airtight container or you can freeze them for later.
- Nostalgic: Turn back time and have a blast while making these with your little ones!
These aren’t your average fruit roll-ups either; they’re packed with flavor, no artificial junk. And hey, you can pick whatever berries speak to you that day. Let’s jump in!
Ingredients Needed
For Your Roll-Ups:
- 5 cups of berries: Use whatever’s fresh! Strawberries, blueberries, raspberries—your pick!
- 1/4 cup honey: Adds that sweet touch naturally (adjust to your liking!).
- 2 tbsp lemon juice: For a little zing that brightens everything up.
How to Make This Recipe?
Step 1: Prepping the Oven
First things first, preheat that oven of yours to 170 degrees Fahrenheit (or whatever the lowest temp is on your dial). You want it low and slow for perfect dry fruit.
Step 2: Line It Up
Grab a large rimmed baking pan (17×12 inches if you’ve got it) and line it with parchment paper or a silicone baking mat. This will be the base for your berry parade!
Step 3: Get Your Berries Ready
Rinse off those berries and remove any stems. That’s key, folks! You want them nice and clean for the smoothest blend.
Step 4: Blend Time
In a blender or food processor, toss all those berries in. Next, add the honey and lemon juice to the party, blending until it’s smooth as silk. If you want to get fancy (or avoid seeds), pour the mixture through a fine mesh strainer to catch any little bits.
Step 5: Spread the Love
Pour the luscious berry puree onto your prepared baking sheet. Spread it evenly—this is where the magic happens!
Step 6: Bake It Slow
Pop that pan into the oven and bake for 5-6 hours, giving it a quick rotate halfway through. You’ll know it’s ready when the puree is set and not sticky. Your kitchen should smell like a berry garden at this point—pure bliss.
Step 7: Cool Down
Let it cool completely. If you used a silicone mat, peel it off gently and transfer your fruit leather to a large sheet of wax paper.
Step 8: Roll It Up
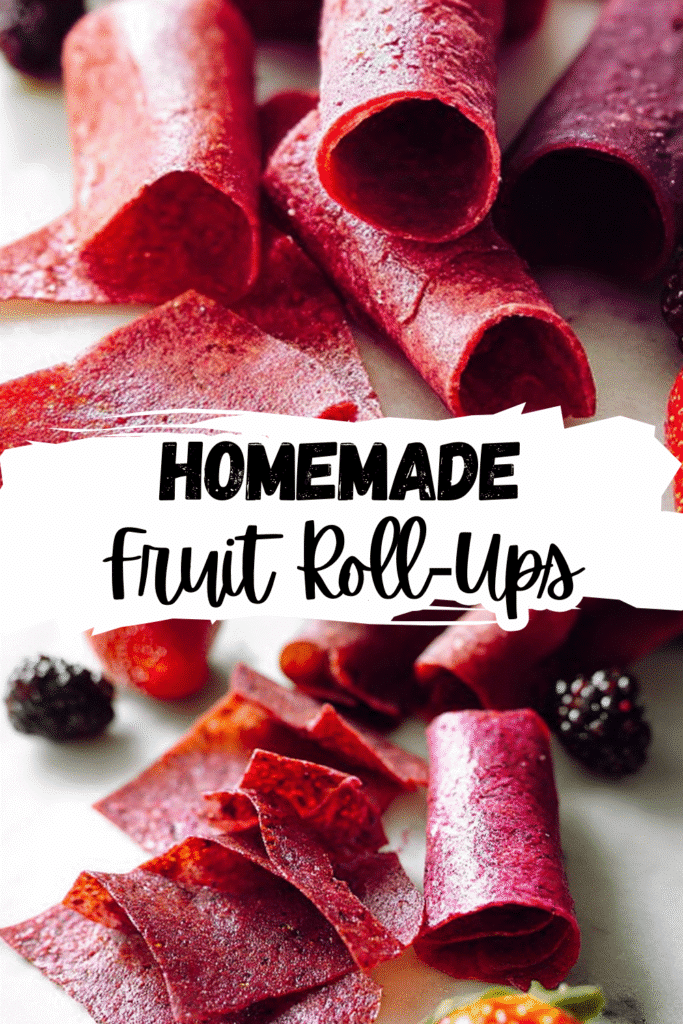
Cut the paper-lined fruit leather into long strips and roll them up. Voila! Your very own fruit roll-ups.
Step 9: Storing
Store these bad boys in an airtight container for up to 2 weeks. But trust me; they won’t last that long!
How to Store It & Expert Tips
How to Store It:
These homemade fruit roll-ups are best kept in an airtight container at room temperature. If you want to keep them longer, throw them in the freezer! Just make sure to wrap them up in wax paper first. To enjoy, simply pop a few in your lunchbox straight from the freeze.
Expert Tips:
- Don’t be afraid to mix and match your berries. Throw in some banana puree for extra creaminess or a dash of cinnamon for a little twist.
- If you’re short on time, check out quick-drying methods like dehydrators (if you’ve got one).
- Play with the sweetness! If your berries are extra sweet, reduce the honey a pinch.
Conclusion
And there you have it! Homemade Fruit Roll-Ups that’ll have your whole house cheering for snack time. These roll-ups are not just a recipe; they’re a way to connect with your family and create memories that stick (like the fruit, LOL). So, fire up your blenders and get ready to dive into a classic with a Jason twist.
If you enjoyed this recipe, please drop a star rating and your thoughts in the comments below. And hey, Share it with your cousin who never shows up empty-handed! Did you add your own spin? I wanna hear all about it!
FAQ Section
Real talk: Can I use frozen berries? Absolutely! Just thaw them out and drain any excess liquid before blending.
Here’s the deal: How long do these last? In an airtight container, they last about 2 weeks. Freeze them for a bit longer shelf life!
Can I customize the sweetness? For sure! Just taste test the puree before drying; feel free to adjust the honey as needed.
You know, if you’ve got a real sweet tooth, my Chocolate Chip Cookie Pizza is always a crowd-pleaser. 🎉